
Budget Macro Lenses for Dessert Close-Ups: What Actually Matters
Macro lenses get sold on magnification numbers and spec sheets, but dessert photography asks slightly different questions. You need enough working distance to wedge a diffuser between the lens and a slice of cake. You need crisp edges on a sugar crystal and clean highlights on a mirror-glazed tart. You need to be set up before the ice cream slumps. None of that requires a flagship lens. It requires knowing which cheap option fails at which job.
Start With Magnification, Not Brand Names
Magnification is written as a ratio. At 1:1, a subject lands on the sensor at its actual size, so a 24mm frame fills with roughly 24mm of dessert. At 1:2 it renders at half size, and so on. For dessert work the useful band runs from about 1:3 — a whole tart or a stacked layer cake — down to 1:1, or slightly beyond for frosting swirls, individual crumbs of streusel, and the ridge where a glaze pooled.
Plenty of zoom lenses carry a "macro" badge while topping out near 1:4. That is marketing rather than deception, and those lenses are genuinely useful for a plate shot. They just cannot show you the grain in a ganache or the fracture line in a tempered chocolate shard. If texture is the point of the picture, you want true 1:1 capability, or a way to fake it.
One detail worth remembering: the ratio does not change with sensor size, but the area you cover does. A 1:1 lens on a crop-sensor body fills the frame with a smaller subject than the same lens on full frame, which is a quiet advantage for small desserts and a nuisance when you want the whole tart in the shot.
Working Distance Is the Spec That Decides Your Shots
Manufacturers advertise minimum focus distance, measured from the sensor to the subject. That number is nearly useless on its own. What constrains you is working distance — the gap between the front element and the thing you are photographing.
A 60mm macro at 1:1 might leave you only five to seven centimetres of clearance. A 90mm or 105mm macro at the same magnification typically doubles that. Ten extra centimetres sounds trivial until you are trying to place a scrim above a glass of panna cotta, or light a cupcake from behind without the lens throwing a shadow across the frosting. Longer lenses also fog less when you are shooting something warm, and they compress the background, which makes a busy café table recede into a soft blur.
Short macros are not worse — they are lighter, cheaper, easier to handhold, and fine for flat-lay work where the camera sits directly above the subject. The mistake is buying a 60mm for tabletop shots with overhead lighting, then discovering you cannot fit the light and the camera in the same space.
The Budget Options, and What Each One Actually Does
- Close-up filters (diopters). Screw onto the front of a lens you already own. Cheap single-element versions soften corners badly and add colour fringing; achromatic doublets cost more but hold up. Magnification depends on the filter strength and the focal length behind it, so a 50mm with a strong diopter gets close, while a telephoto stays usable. The catch: you lose infinity focus and cannot stop down as far without losing sharpness.
- Extension tubes. Hollow spacers that move the lens away from the sensor, cutting minimum focus distance and raising magnification. A full set on a 50mm prime reaches roughly 1:1. Buy tubes with electronic contacts if your lenses have no aperture ring, or you lose control of the iris. Light loss of one to two stops is normal.
- Reversed lenses. A reversing ring mounts a lens backwards on the body. Short primes reversed give very high magnification for very little money. Everything becomes manual, metering gets awkward, and the exposed rear element needs care. Fun for a weekend experiment, tedious as a working method.
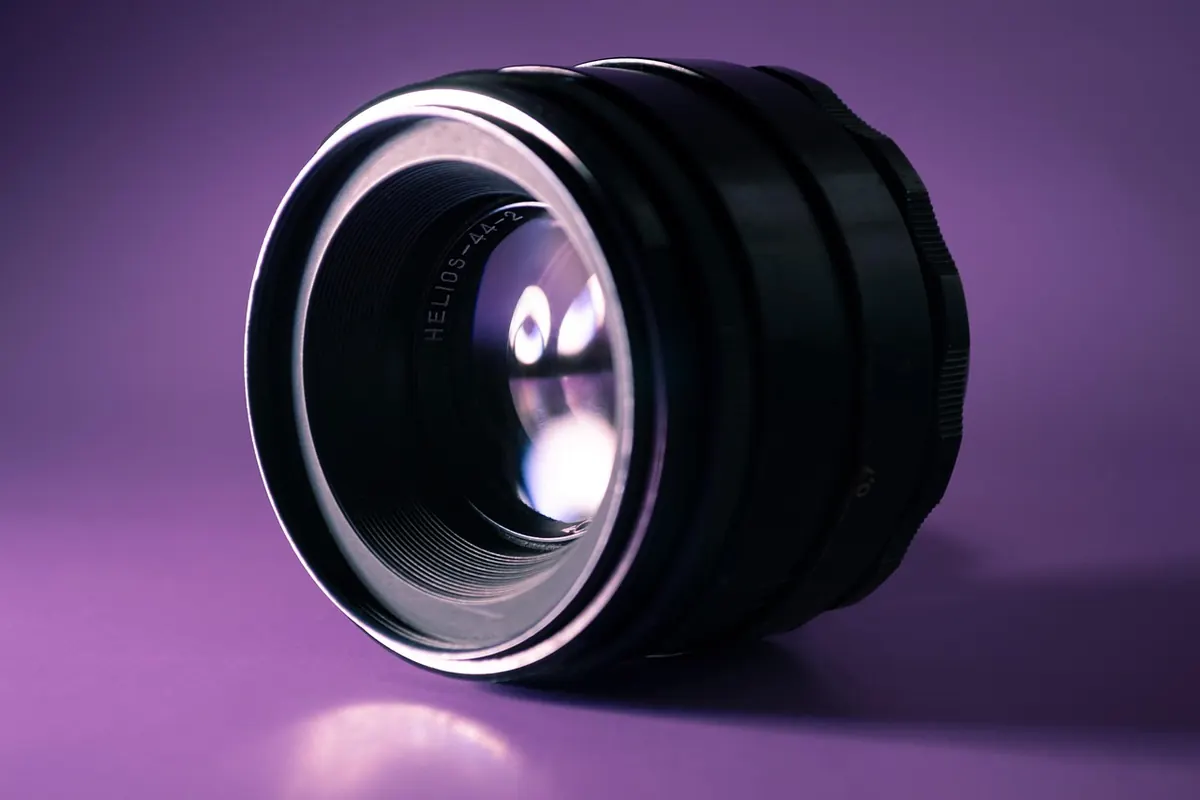
- Adapted vintage manual macros. Film-era 55mm to 105mm macro primes are built like hammers, focus with long smooth throws, and often cost less than a modern kit lens. You focus by hand and set aperture on the ring. For dessert work on a tripod, that is not a hardship — it is a feature.
- Used autofocus macro primes. Third-party 90mm and 100mm macro lenses from a generation or two back are the sweet spot for anyone shooting quickly. Autofocus still hunts at extreme magnification, but the working distance and optics are usually the equal of far pricier glass.
Sharpness: Where to Look, and Where Not To
Budget macro glass is rarely soft in the centre at moderate apertures. It falls apart at the edges, wide open, against bright highlights. That matters more than usual here, because dessert photographs are full of specular detail: wet glaze, foil wrappers, a single backlit sugar crystal. Purple and green fringing on those edges is the most common giveaway of a cheap lens, and it is also the easiest problem to fix in editing.
Stopping down to f/8 or f/11 usually evens out centre and corner performance, but diffraction starts to eat fine detail beyond that on crop sensors, so do not simply close the aperture and hope. Depth of field at 1:1 is brutally thin — often less than the height of a macaron — which is why so many dessert close-ups are shot slightly angled, with the plane of focus running along the piped edge of a frosting swirl rather than across it. If you plan to stack focus for a whole tart, consistency between frames matters more than peak sharpness in any single one.
A quick test you can run in an evening
- Mount the camera on a tripod and set a target you actually care about: a sugared doughnut, a piece of bark, a printed grid taped to a wall.
- Focus manually at 1:1, wide open, using live view magnification rather than autofocus.
- Shoot the same frame at f/5.6, f/8 and f/11.
- Compare 100% crops of the centre, one corner and the brightest highlight edge.
- Repeat at your normal working distance, not just at maximum magnification.
- Check the mount and adapter for wobble, and the focus ring for grit or slack. Loose adapters ruin more macro shots than soft optics.
Autofocus Is Optional; Support Is Not
At high magnification, autofocus hunts, overshoots and drifts. Manual focus with peaking and magnification is faster once you accept that you fine-tune by nudging the camera forward and back rather than turning the ring. Handholding at 1:1 demands a shutter speed most indoor dessert setups cannot supply, so either raise it and lose depth, or use flash. A small speedlight fired through a diffuser freezes motion and lets you work at f/11 with a hand you can trust.
A tripod is close to mandatory for anything deliberate. A focusing rail helps if you intend to stack, and tethering to a laptop turns a fiddly shoot into a fast one — you see focus errors at 100% instead of discovering them later.
The Lens Is Rarely the Weak Link
Window light through a sheet of diffusion, a white card bouncing a little fill onto the shadow side, a black card shaping an edge along the rim of a plate — that combination will outshoot an expensive lens under a bare flash. Crumbs placed deliberately, a glaze still tacky rather than dried, a cold plate for ice cream: these decisions show up in the photograph more than corner sharpness ever will. Work quickly with anything that melts, and shoot the same setup twice rather than chasing one perfect frame.
How to Choose, Practically
If you own a 50mm prime and want to find out whether macro is for you, start with an extension tube set — small outlay, immediate answers. If you shoot overhead and need room for a diffuser or a second light, go straight to a 90mm or 105mm manual macro and an adapter. If you work fast, handheld and often for other people, a used autofocus macro is worth the extra. If you just want absurd magnification for a weekend, reverse a short prime and accept the awkwardness.
And if you already own a macro lens, the honest upgrade is a tripod, a rail and better light, not another piece of glass. Pick one dessert, shoot it at f/8 with a diffused window behind it, then shoot twenty versions of the same slice. That practice will improve your close-ups faster than any purchase on this list.
Photo: -MECO- / Pixabay