Photographing Portuguese Custard Tarts at Home: A Lisbon Cafe-Style Guide
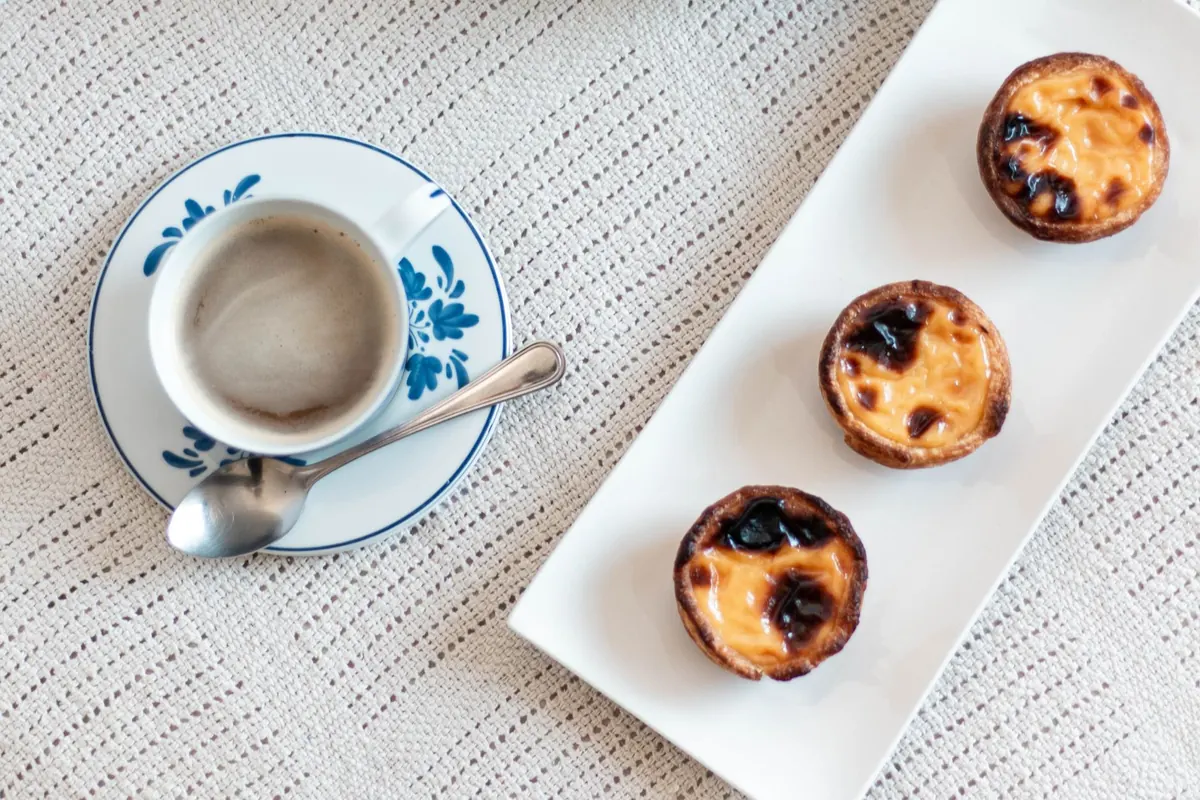
Pastéis de nata are the rare dessert that looks as good as it tastes. Blistered, mahogany-freckled tops. A custard that trembles when the plate moves. A shell of puff pastry so thin you can almost count the layers. You do not need a Lisbon kitchen or a professional light kit to do them justice. A window, a small table and the discipline to wait five minutes before eating will get you most of the way there.
Start With the Tart, Not the Props
A nata that spent the night in the fridge photographs like a tired pastry, because it is one. The custard dulls, the crust steams itself soft, and the caramelised surface loses its glassy sheen.
So the first rule is timing. Shoot within twenty to thirty minutes of baking, while the filling is still slightly warm and the pastry still shatters instead of bends. If you baked earlier in the day, a three-minute refresh in a hot oven brings the crust back and re-glosses the top. Let them sit one minute on a rack, no longer. You want the custard set at the edges with a faint shiver in the middle.
Light: The Cafe Window Formula
Cafe photographs work because cafes have big windows and no ceiling lights on. Recreate that. Turn off the overhead fixture, kill the kitchen downlights, and put your table beside the brightest window in the house, ideally a north-facing one.
Place the tarts so the window sits roughly behind and slightly to one side of them, at about forty-five degrees. That angle gives you a bright edge along the rim of the pastry and a soft sheen on the custard, which is what makes the top look caramelised rather than merely brown. Direct sun through glass is too harsh and blows out the pale custard in a heartbeat. A white curtain or a sheet of tracing paper taped to the window fixes that.
On the shadow side, prop up a piece of white foam board to bounce light back into the dark half of the tart. A black card on the opposite side, just out of frame, deepens the shadows and adds shape. Move it closer for drama, further away for a soft, airy look.
Reading the Light Before You Shoot
Hold your hand above the tart and look at the shadow it casts. A soft edge with visible detail is what you want. Hard black edges mean the light is too direct. No shadow at all means the light is too flat, so pull the bounce card back or shift the tarts closer to the window.
Styling That Says Lisbon Without Costume
Natas are bakery food, not plated dessert. The styling should feel like a marble counter at eight in the morning, not a restaurant table at nine at night. A few props do the whole job:
- A small white espresso cup on its saucer, half drunk
- A blue-and-white azulejo tile used as a coaster or a backdrop
- Marble, aged wood or a worn enamel tray as the surface
- A linen napkin, crumpled rather than pressed flat
- One tart still sitting in its paper wrapper for authenticity
- A single cinnamon stick or a small shaker, placed off to the side
Three or four props is plenty. Arrange them as a loose triangle with the tarts as the anchor, and let one element run out of the frame so the image feels like a moment rather than a display. Skip the fake flowers and the scattered coffee beans.
Camera Settings and Angles
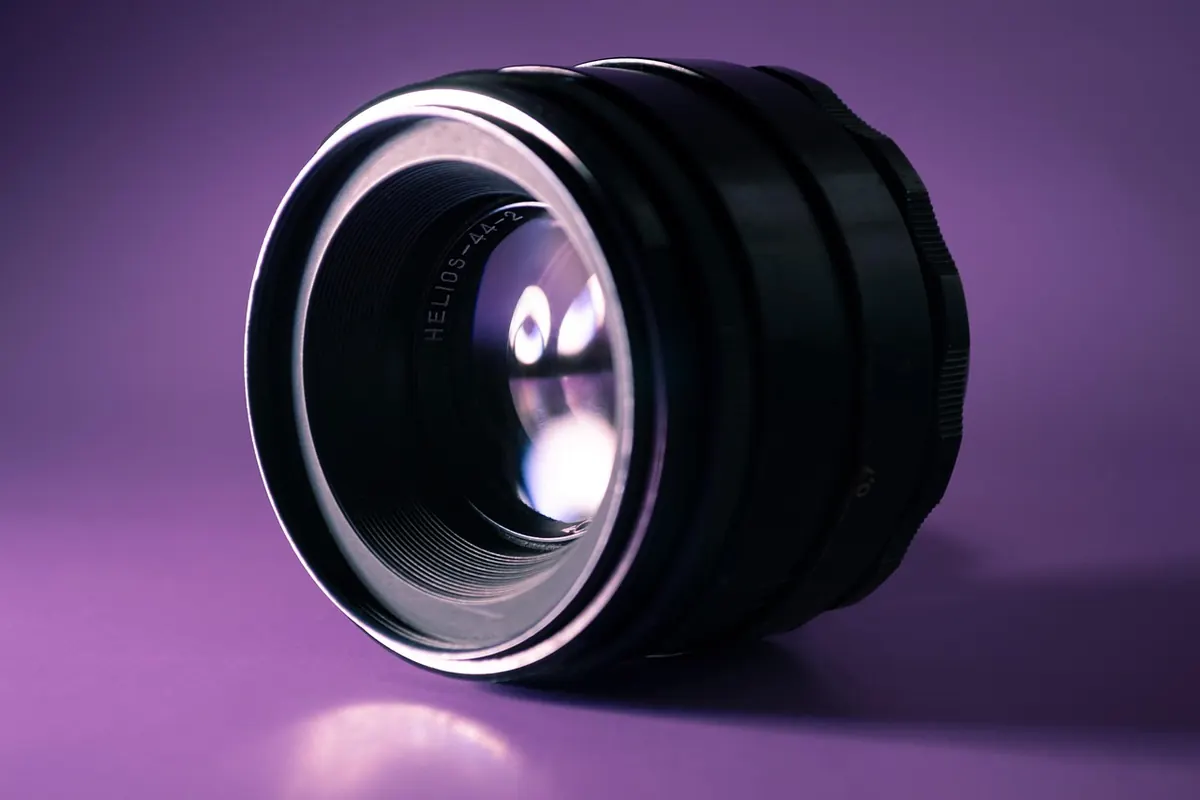
A fifty-millimetre lens, or its phone equivalent, is the natural choice. For a full plate of three tarts, f/4 to f/5.6 keeps the front tart crisp and lets the back one soften. For a close detail, f/5.6 to f/8 gives you the flaking layers without losing the custard. Handheld, keep the shutter at 1/160 or faster and the ISO at 200 to 400.
On a phone, tap to focus on the pastry rim rather than the pale centre, then drag the exposure down by roughly two-thirds of a stop. Custard is bright and reflective, and your camera will happily turn it into a white blob if you let it.
Shoot three angles: one from about forty-five degrees, one low, with the lens level with the tart so the crimped sides stack up, and one slightly above for a trio. Straight-down flat lays only work with a strong graphic surface, such as a full tile or dark slate.
Where to Put the Focus Point
Focus on the front rim of pastry, not the middle of the custard. The rim is where the texture lives, and the eyes will follow it into the frame. Use single-point autofocus so the camera does not decide for you.
The Bite Shot and Other Details
The cut tart is the most appetising frame in the set. Press a small fork through the pastry and let the custard push out slightly, then shoot fast. A cut nata starts to look sad within a couple of minutes, so set your exposure first, cut second, shoot third.
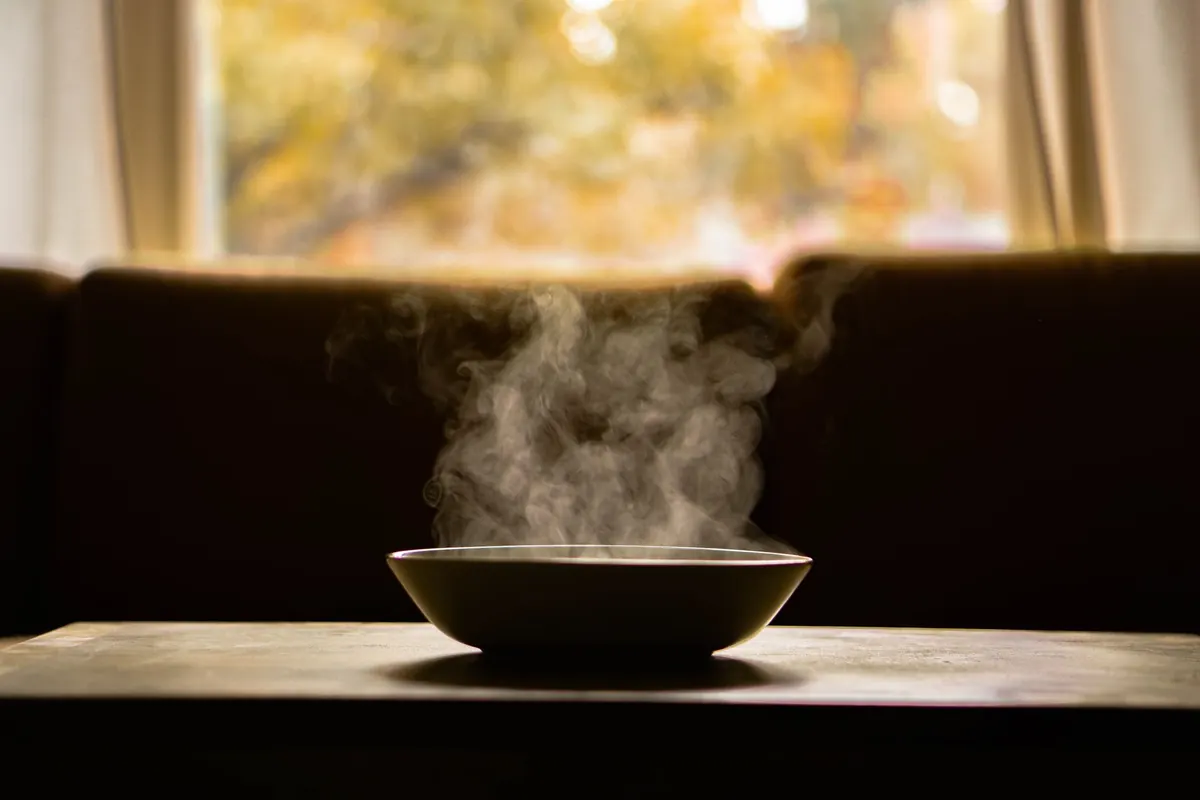
Steam is worth chasing but only with backlight and a dark background behind it. You have roughly ninety seconds before it disappears, so expect to take fifteen or twenty frames to get two good ones. And go easy with cinnamon. Pinch it high above the tart, one pass, then stop. Heavy dusting reads as mess, not abundance.
Editing for Warmth Without Going Orange
Set white balance between roughly 4800K and 5200K. Lift the shadows slightly, then pull the highlights down to recover the shiny surface of the custard. In the colour controls, nudge orange saturation and luminance up a touch, and take yellow saturation down a notch so the pastry stays golden instead of turning neon. A little texture or clarity on the crust helps, but leave the custard smooth. Add only a whisper of vignette, if any.
Common Problems and Their Fixes
- Blown-out custard. Reduce exposure, diffuse the window light, or shoot from a lower angle.
- Flat, lifeless frame. Move the window further behind the subject and add the black card on the shadow side.
- Cluttered background. Open the aperture, then put a metre or two between the tarts and whatever is behind them.
- Yellow colour cast. Usually the wooden table or a warm bulb. Set a custom white balance off a grey card.
A Ten-Minute Setup You Can Repeat
Pick your brightest window and clear the table beside it. Lay down marble, wood or a tile, and put the tarts at that forty-five-degree angle to the light with a white card on the far side. Add the espresso cup and a crumpled napkin, then check the frame edges for clutter. Shoot twelve frames: a wide, a tight one on the pastry rim, one of a fork cutting through, and one from slightly above.
Then put the camera down, pour the coffee, and eat them while they are still warm. That is the whole method, and it works every time you bake.
Photo: Regina Ferraz / Pexels