

7 Styling Mistakes That Ruin Custard Dessert Photos (and How to Avoid Them)

Custard is one of the most photogenic desserts on the planet—until you point a camera at it. Then the surface turns into a mirror, the edges start to weep, and the beautiful wobble you saw in the kitchen becomes a puddle under the lights. Most ruined custard photos aren't ruined by bad cameras. They're ruined by small styling decisions made in the last five minutes before the shutter clicks.
1. Shooting at the Speed of a Still Life
Custard is a clock. From the moment it leaves the fridge, it is warming, softening, and losing the clean edge you set up. If you spend fifteen minutes moving props and adjusting a tripod while the dessert sits under a hot light, you are photographing a different dessert than the one you styled.
Work in this order: build the set first, set the light first, focus on an empty plate, then bring the custard in. Keep the room cool. Use LED panels rather than hot tungsten bulbs. Chill the plate, the spoon, and any ramekin that will appear in the frame. If you need more than a few minutes, style a second portion as a backup and swap it in before the first one collapses.
For long sessions, a stand-in helps. A block of firm butter or a piece of modeling clay in the same dish can hold the composition while you tweak the camera. Bring the real custard in only when the frame is ready.
2. Sanding Down Every Imperfection
The opposite mistake is over-styling: torching the surface until it looks like plastic, wiping the top so many times that it loses its skin, or filling a natural dimple with a paste that reads as a patch. Custard should look soft and set, not factory-sealed.
Control the surface before it sets. Strain the custard base to remove bubbles and lumps. Skim foam from the top. If you want a clean top, press plastic wrap directly onto the surface before chilling; if you want a skin, leave it uncovered. If a bubble rises during torching, pop it with a skewer and smooth it while the sugar is still warm.
Small cracks can be hidden with a single berry, a mint leaf, or a dusting of sugar. That is styling, not cheating. What you want to avoid is a surface so corrected that it loses the soft, quivering texture that makes custard worth photographing.
3. Sloppy Edges and Unplanned Drips
Edges tell the viewer whether the dessert was plated with care. Fingerprints on a ramekin, a smear of custard on the rim, and a random drip down the side of a dish all pull attention away from the center of the frame.
Before every shot, check the perimeter. A dry cotton swab cleans a rim; a slightly damp cloth followed by a dry one removes smears from a plate. Keep tweezers nearby for stray crumbs and a small squeeze bottle for sauces.
Drips are not always bad. A deliberate drip of caramel down the side of a flan can add movement. The difference is intent. Place the drip where it supports the composition, let it fall naturally, and clean the area around it. If it looks accidental, wipe it and try again.
4. Props That Compete With the Dessert
Custard is quiet. It is pale, glossy, and often monochrome. Put it next to a busy floral plate, a bright red napkin, and a patterned backdrop, and the dessert disappears.
Color and tone
Choose a palette of two or three colors. Cream, caramel, vanilla, and egg yolk already give you a warm range. Add contrast with a cool gray slate, a muted blue linen, or a dark wood surface. Avoid props that match the custard too closely unless you are creating a soft, tonal image on purpose.
Scale and texture
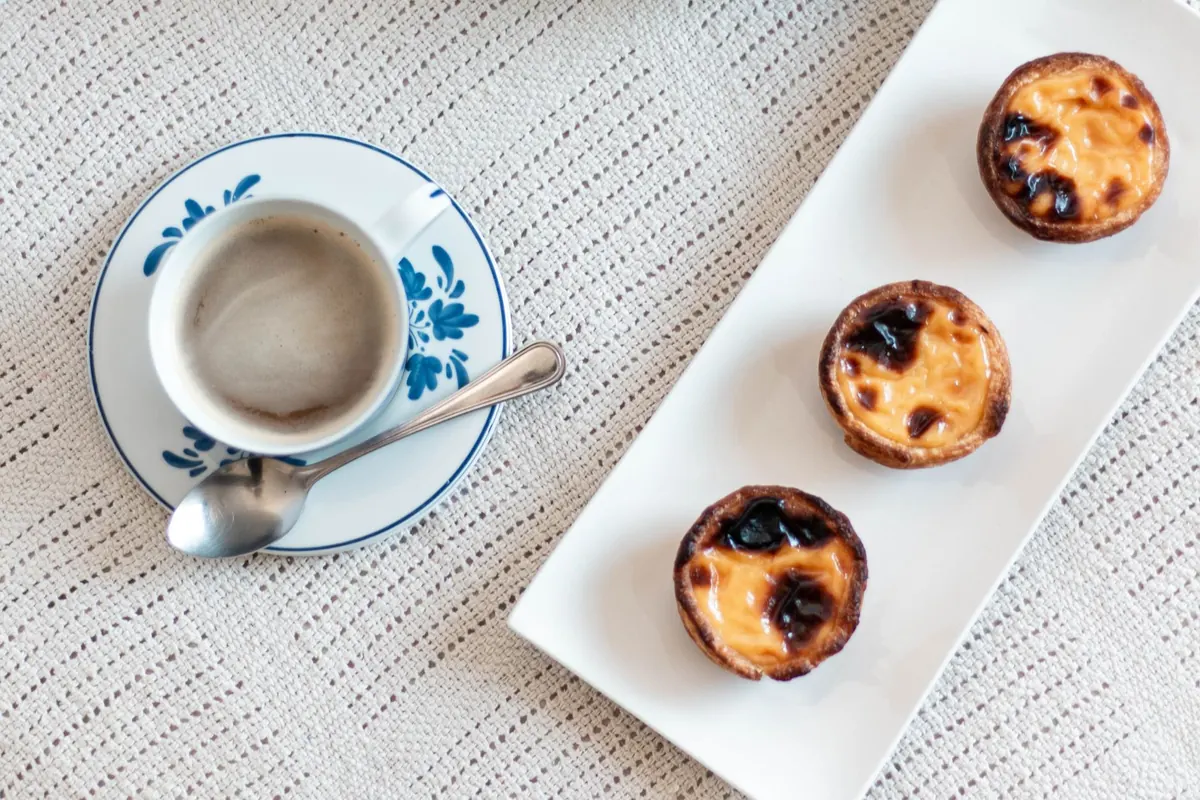
A giant fork beside a tiny pot de crème makes the dessert look smaller than it is. Pick props that relate to the serving size. A small vintage spoon, a folded linen napkin, or a few scattered crumbs can suggest a moment without stealing the scene. Texture matters too: a rough ceramic plate makes a smooth custard look smoother.
5. Lighting That Turns Custard Into Plastic
Direct flash and small, hard light sources create sharp specular highlights on custard. The surface reads as wet plastic rather than silky set cream. Move the light to the side or slightly behind the dessert, and make it larger with a diffuser or a white shower curtain. A white foam board on the opposite side fills the shadows just enough to keep the texture visible.
Watch the highlights on the top of a crème brûlée or the curve of a flan. If they blow out to pure white, lower the light or move the diffuser closer. A black card placed just outside the frame can deepen the shadow side and give the custard more shape.
6. Garnishing Like a Salad Bar
Mint, powdered sugar, berries, caramel, whipped cream, and a cinnamon stick on the same plate is not styling; it is crowding. Every garnish should answer a question. Is this vanilla? Then a vanilla bean pod or a few flecks of seed make sense. Is this caramel? A thin drizzle reinforces the flavor.
Use one or two garnishes, and place them with intention. A single raspberry can balance a composition. A spoon of whipped cream can show scale. Powdered sugar can soften a dark background, but only if it is dusted lightly and not dumped in a heap. If a garnish does not add flavor, texture, or a visual cue, take it off the plate.
7. Ignoring the Angle and the Plate
The wrong camera height can flatten a custard dessert. A straight-on angle shows layers in a trifle or a glass. A 45-degree angle shows the surface and the side of a ramekin. An overhead shot works for a flan with a caramel pool, but it can make a small custard look like a yellow circle.
Move the camera before you move the dessert. Try three heights and compare. Also check the plate: a white plate on a white table can drain the image, while a dark plate makes pale custard glow. The plate is a styling decision, not an afterthought.
A Five-Minute Pre-Shutter Checklist
Before you press the shutter, run through this list:
- Is the custard still cold and set, with no weeping at the edges?
- Are the rim and plate clean, with only intentional drips left in place?
- Do the props support the dessert instead of competing with it?
- Are the highlights soft, with no blown-out white patches on the surface?
- Is the garnish minimal and purposeful?
- Does the camera angle show the texture, height, or layers you want to highlight?
Fix those six things and you will spend less time repairing photos and more time making custard that looks as good as it tastes.
Photo: Perfecto_Capucine / Pixabay