

Natural Window Light vs. Continuous LED for Dessert Photography: A Side-by-Side Comparison
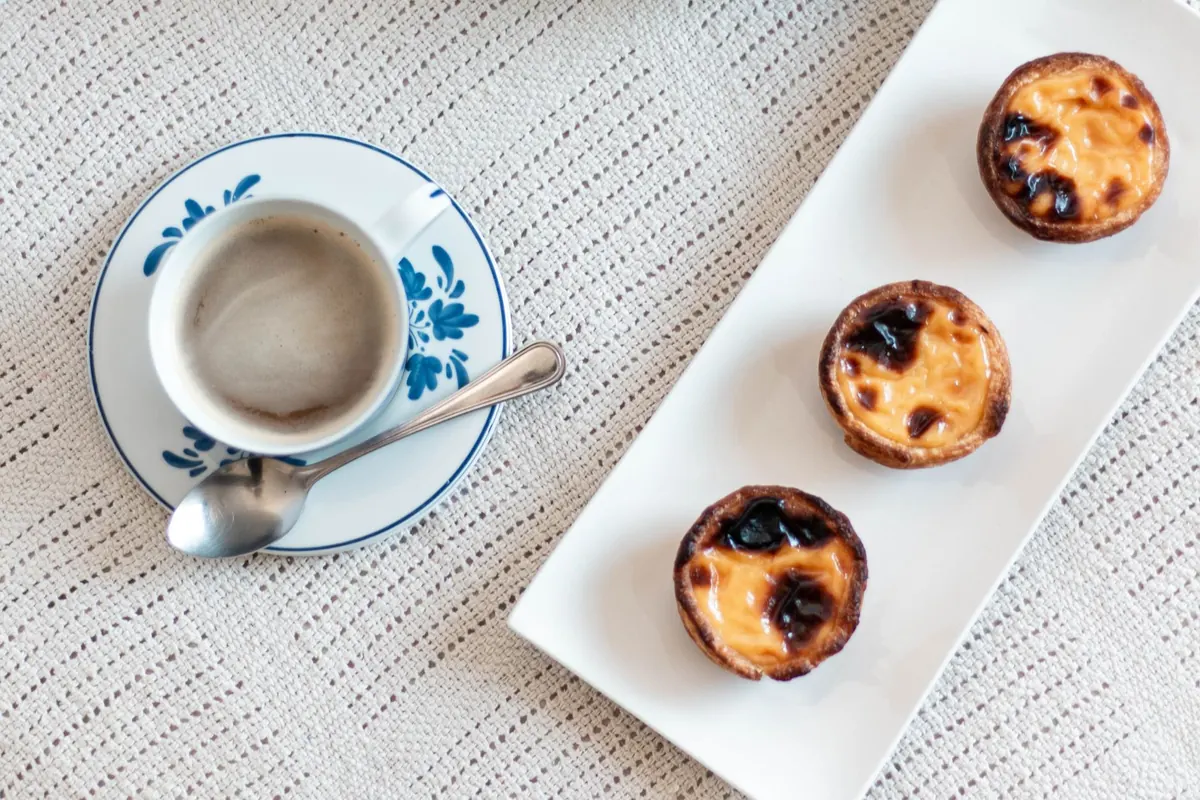
Line up two identical crème brûlées. Light one with a north-facing window at ten in the morning, the other with a diffused LED panel in a darkened kitchen. Match the exposures, shoot from the same angle, and the two frames will still look like different desserts. The reason has almost nothing to do with brightness.
Window light and continuous LEDs share one genuinely useful trait: you can see the light before you commit. But they shape a trembling custard surface and a piped buttercream swirl in sharply different ways. Here's how each behaves, where each one fights you, and how to set up both without turning your kitchen into a studio.
Size, Distance, Direction: The Three Things That Actually Matter
Softness isn't a property of a bulb or a window. It's a relationship between the size of the light source, the size of your subject, and how far apart they sit. A window is a very large source. An LED panel is a small one until you diffuse it and move it close.
This is why bare light on custard looks slightly greasy. A small, hard source puts a tight pinpoint reflection on a wet surface, and that pinpoint reads as oil. A broad source creates one calm, elongated highlight that reads as silk. Direction does the rest: raking side light gives a cheesecake slice its height and reveals the crumb; flat frontal light flattens it into a wedge of beige.
Colour temperature matters more than usual here, because custard is pale, warm, and unforgiving. Get size, distance, and direction right and the source itself becomes a footnote.
Window Light on Custard and Cake
An overcast day at a north-facing window is the closest thing to a free five-foot softbox you'll ever get. The light arrives already diffused, falls off gently across the frame, and makes custard tarts, panna cotta, and flans look glossy without looking wet. Cake benefits too: buttercream shows its swirls, sponge shows its crumb, and a slice stands up because the shadow side stays softly open.
Direct sun isn't disqualifying. Tape a sheer curtain or a sheet of baking parchment across the glass and you get something harder and more directional, with a gradient across the plate that feels like late afternoon. Pull the subject 30–60cm back from the glass so the light spreads, and use a white foam board opposite the window to lift the shadow side.
The catch is that the light is a moving target. Clouds drift, tree shadows crawl across the table, and the sun's angle changes measurably while you're adjusting a garnish. Shaded daylight also leans cool, which can turn vanilla custard grey unless you set a custom white balance or bounce a little warmth back in. And you're locked to a wall and a schedule — no shooting at eleven at night.
What Continuous LED Panels Give You
A decent bi-colour panel does one thing window light cannot: it repeats. Same position, same power, same colour temperature, next Tuesday at midnight. For anyone testing a composition, walking away, and coming back, that consistency is worth more than the extra softness you get for free from a window.
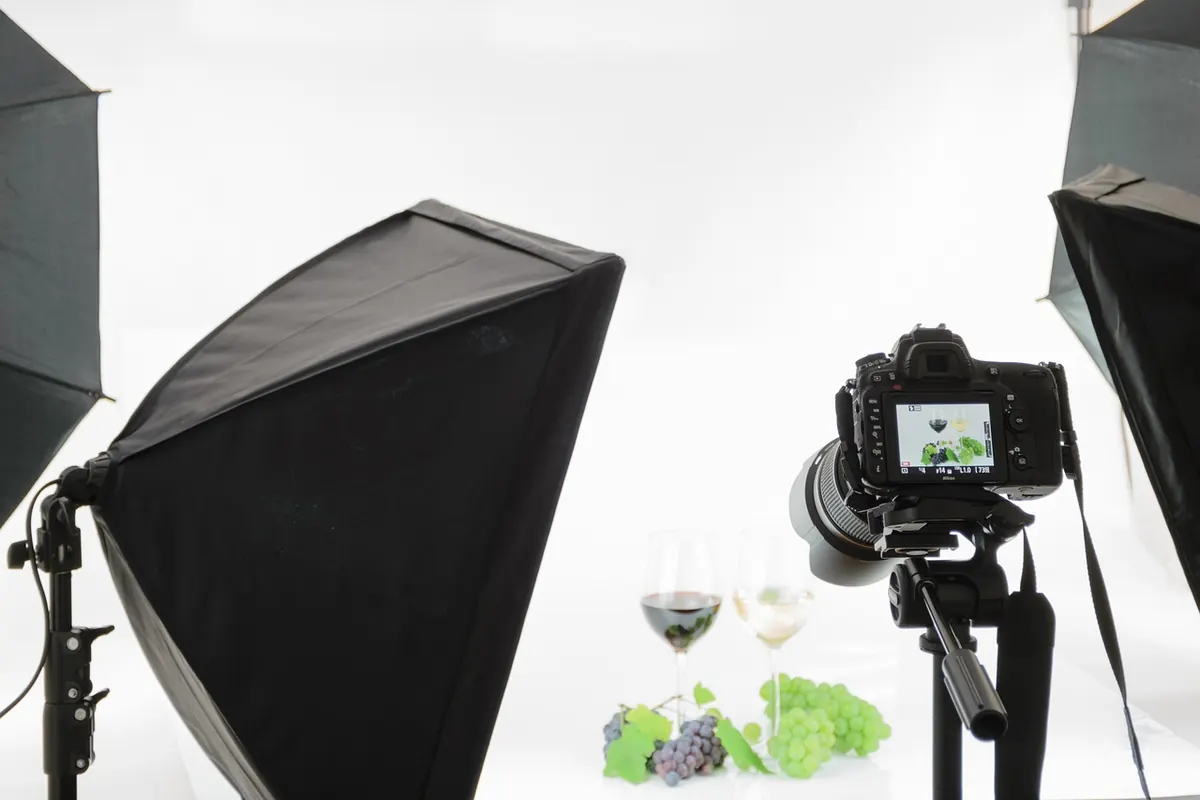
The trade-off is that panels are small. A one-by-two-foot panel on a custard tart is a hard light until you put diffusion in front of it — a proper diffuser, a sheet of parchment, even a white shower curtain stretched on a frame. Move it closer and it becomes softer but the falloff gets steeper, because light drops off fast with distance. Moving a panel from 60cm to 30cm roughly quadruples its brightness on the subject, so you'll be dimming constantly.
Two practical cautions. Some panels dim by pulsing, which can produce banding at shutter speeds around 1/500s and faster — test at your working shutter speed before you commit to a shoot. Others shift slightly green or magenta as you dim them, so check colour against a grey card rather than trusting the dial.
Side by Side: Where Each One Wins
- Softness: The window wins outright. Nothing you can carry matches a four-foot sheet of sky.
- Consistency: The LED wins. Identical results on repeat shoots, in any weather.
- Working hours: The LED wins. Dessert photography often happens after dinner service, not at noon.
- Shape control: The LED wins. You can feather it, flag it, and add a second unit to sculpt a layered cake.
- Colour: A tie on a good day; the LED wins on a grey one, when window light goes blue and moody.
- Cost and clutter: The window wins. It's already installed.
Setup Notes for Both
Window light
- Choose a north-facing window, or any window on an overcast day. Avoid direct sun unless you're diffusing it.
- Set the dessert 30–60cm back from the glass, slightly off-centre so light travels across the surface.
- Place a white foam board on the shadow side and a black card just behind the plate to deepen the edge.
- Lock the camera on a tripod, shoot at f/4–5.6, and check the surface for dust and stray crumbs before you focus.
- Frame a grey card at the start, then work quickly. Shoot the hero angle first.
Continuous LED
- Put the panel at roughly 45 degrees to the dessert, then diffuse it. Never shoot a glossy custard into bare LEDs.
- Set both the panel and your camera's white balance to the same number, usually around 5000–5600K.
- Add fill with a second panel at low power or a bounced white card, kept at the same colour temperature.
- Dim by moving the light, not by dropping the power to its lowest setting, where colour drift tends to appear.
- Tether to a laptop or mirror your phone screen so you can see the highlight while adjusting the panel.
Mixing the Two Without a Colour Mess
You don't have to choose. A common and forgiving setup is window light as the key with a small LED panel bounced into the shadow side as fill, dialled down until you can barely tell it's there. The reverse works too: LED key from the side, window behind the cake as a soft rim that separates it from the background.
The only real rule is to stop guessing at colour. Set white balance on the final lighting arrangement rather than before you add the second source, and if the two lights genuinely disagree, gel one of them rather than splitting the difference in post.
What I'd Reach For
If the sun is out and the schedule is flexible, use the window. Custards, flans, glossy ganache, and anything with a wet surface reward a big, gentle source, and no panel I've used replicates that on a budget.
If you need the same shot twice, if you shoot after dark, or if you're building a tall layer cake that needs its edges defined, use the LED and accept that you'll spend two minutes diffusing it. Window light as key, small panel as fill, is the combination I come back to most often.
Either way, do the comparison yourself once. Two custards, two setups, one afternoon. You'll learn more from that pair of frames than from any lighting diagram, and you'll know which light your desserts actually like.
Photo: Pexels / Pixabay